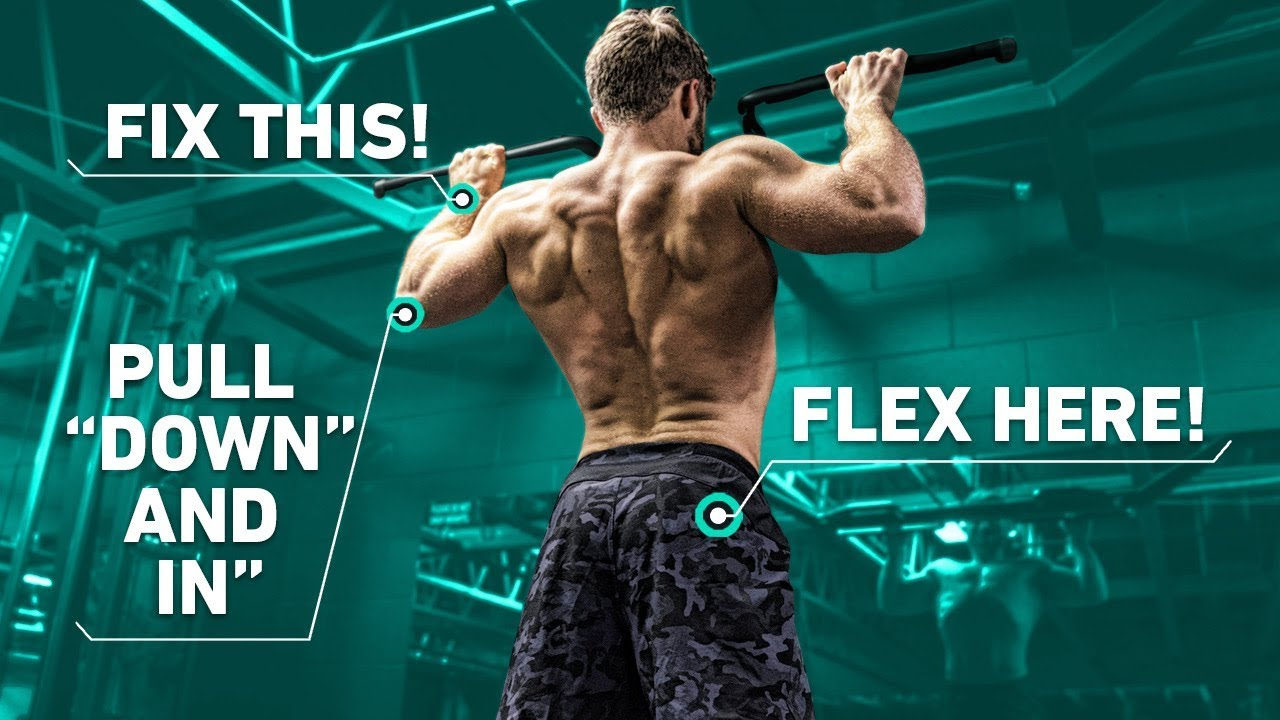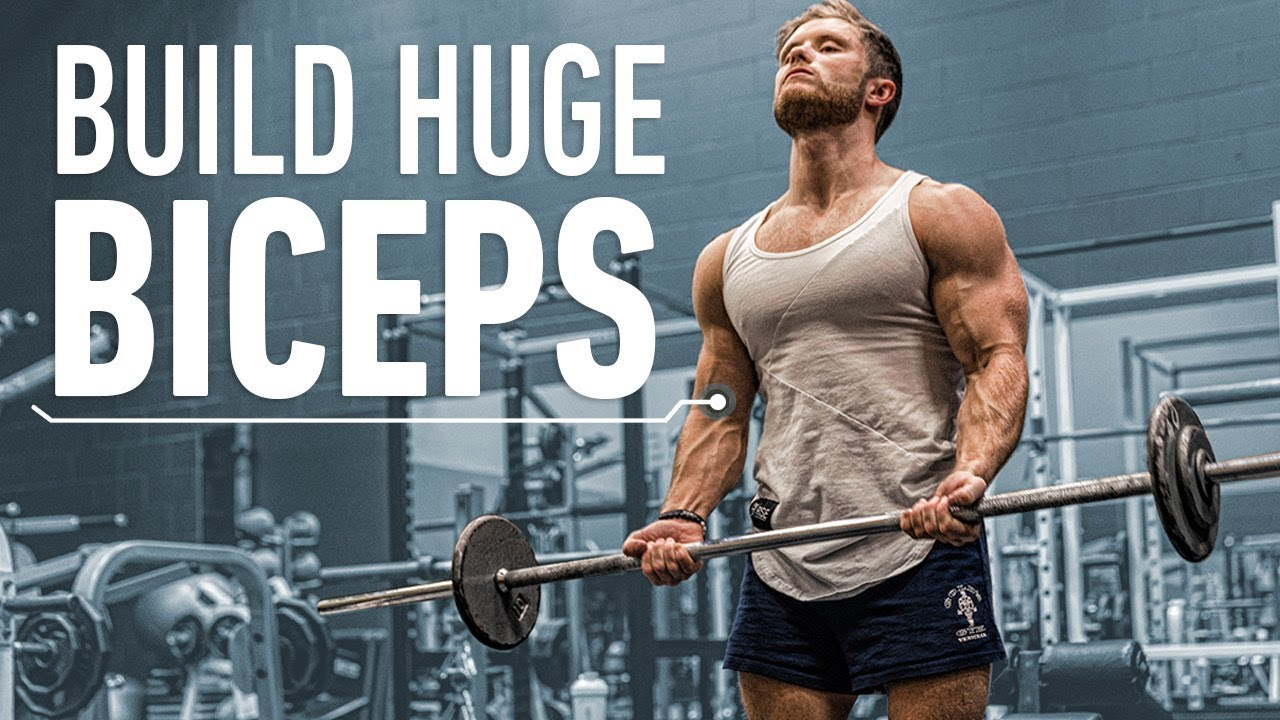
As a seasoned nutrition expert and bodybuilding coach with over two decades of experience, I’ve guided countless individuals through the intricacies of muscle growth, fat loss, and strength development. While many exercises appear straightforward on the surface, achieving optimal results often hinges on mastering the subtle nuances of technique. Today, we’re diving deep into an iconic movement—the barbell curl—to uncover how you can maximize its potential for truly impressive bicep development. What seems like a simple bend of the elbow is, in reality, a complex interplay of muscles and biomechanics that, when understood, can elevate your arm training to new heights.

Anatomy of the Curl: Beyond Just Biceps
To effectively perform any exercise, you must first understand the primary movers and their synergistic partners. The barbell curl, despite its name, involves more than just your biceps.
The main action during a curl is elbow flexion (bending your arm). Surprisingly, the brachialis muscle, which lies beneath your biceps brachii, is the strongest elbow flexor. While it’s not visible on the surface, developing the brachialis pushes the biceps outward, significantly enhancing the appearance of overall arm thickness and size. Of course, the biceps brachii itself, crossing both the elbow and shoulder joints, plays a crucial role in this movement. Additionally, the brachioradialis, located in your forearm, assists in elbow flexion, particularly when your grip is pronated or neutral.
Beyond elbow flexion, the barbell curl also incorporates wrist supination (twisting your palm upwards). This action is predominantly handled by the biceps brachii and the supinator muscle in the forearm. Supination is key for maximizing bicep activation because the powerful brachialis, unlike the biceps, cannot contribute to this motion. This forces the biceps to shoulder more of the load, making it a critical component of effective curling.
Furthermore, a subtle degree of shoulder flexion (bringing your arm slightly forward) occurs during the curl. The long head of the biceps, which contributes significantly to the “peak” of your bicep, assists the front deltoid in this movement, as it crosses the shoulder joint. Finally, throughout the entire curl, the muscles of your anterior forearm perform an isometric wrist flexion to maintain a neutral wrist position, preventing hyperextension and ensuring tension stays on the target muscles.
Barbell vs. Dumbbell vs. EZ Bar: Choosing Your Weapon
When it comes to arm training, the choice between a straight barbell, an EZ curl bar, or dumbbells often sparks debate. Each has its merits:
- Barbell Curl: The primary advantage here is the ease of progressive overload. You can add minimal weight increments (e.g., 2.5 lbs per side) week after week, ensuring consistent, micro-progression. With dumbbells, jumps are often larger (5 lbs per side), which can sometimes force a compromise in form or slow down your loading trajectory. While a straight bar allows for a fully supinated grip, some find it uncomfortable on their wrists.
- EZ Bar Curl: This curved bar is often a lifesaver for those who experience wrist discomfort with a straight bar. While it offers a slightly less supinated grip, the practical difference in bicep activation is often negligible, especially if you actively focus on supinating your wrists throughout the movement. If an EZ bar feels better, use it! Comfort and pain-free movement always trump marginal theoretical advantages.
- Dumbbell Curl: Dumbbells offer the unique benefit of independent limb training, which can help address muscular asymmetries. They also allow you to start with a neutral grip and actively supinate during the concentric phase, offering a strong mind-muscle connection. We’ll delve more into specific dumbbell curl technique later.
Generally, I recommend loading the barbell curl with light to moderate weight in the 8-20 rep range. Going too heavy often leads to excessive cheating, where other muscle groups compensate, reducing the isolation and tension on the biceps. The goal isn’t just to lift the weight, but to make your biceps do the work.
Mastering the Mind-Muscle Connection and Grip Strategy
For optimal hypertrophy, cultivate a strong mind-muscle connection. A landmark 8-week study by Schoenfeld and colleagues found that actively focusing on squeezing the target muscle resulted in significantly greater hypertrophy than simply focusing on moving the weight. This means feeling the biceps contract, rather than just pulling the bar.
When gripping the barbell, aim for a comfortable, roughly shoulder-width, underhand (supinated) grip. While some speculate that a wider grip might slightly emphasize the biceps peak (long head), this often comes at the cost of a reduced range of motion. Conversely, a very close grip can also limit range of motion and may even decrease bicep EMG activity by a small percentage compared to a shoulder-width grip.
As a quick tip for those aiming to maximize their biceps peak, exercises where the upper arm is positioned behind the body, such as incline dumbbell curls or cable curls with the arm behind the torso, can place the long head of the biceps under greater stretch, potentially leading to enhanced development of the peak.
An often-overlooked detail is to take a slightly looser grip with your hands and fingers. This seemingly small adjustment helps minimize activation of the forearm’s elbow flexors, ensuring your biceps are truly doing the heavy lifting.
The Art of Execution: Every Degree Matters
From the setup to the eccentric, every phase of the barbell curl contributes to its effectiveness:
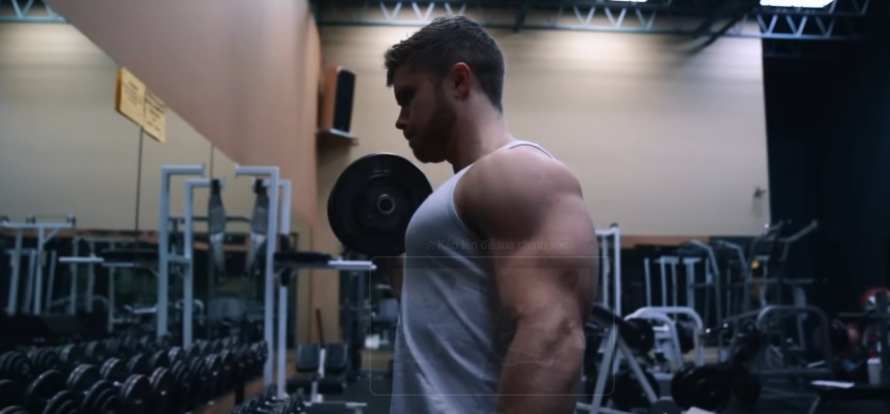
- Setup: Stand upright with a stable, shoulder-width stance, core braced, and knees slightly bent. Your elbows should be tucked comfortably close to your sides.
- Initiating the Curl: Before lifting, subtly flex your shoulders forward by about 10 degrees. Simultaneously, try to posteriorly tilt your scapulae. Since the short head of the biceps attaches to the front of the scapula, this preparatory movement pre-tensions the biceps, enhancing engagement from the start.
- Active Supination: Even with an underhand grip, actively drive your pinky and ring fingers into the bar. This subtle cue forces your wrists into a more supinated position, ensuring greater biceps involvement and preventing your forearms from taking over.
- The Arc Motion: Instead of pulling the bar straight up, envision curling it out in front of you in an arc. This increases the lever arm (the distance between your elbow joint and the weight), generating more torque and, consequently, greater tension on your biceps throughout the movement.
- Peak Contraction: As you reach the top of the curl, maintain a neutral wrist position. An advanced technique involves slightly extending your wrists at the very top to further disengage the forearm muscles, though this should be approached cautiously if you experience any wrist discomfort. Focus on squeezing your biceps hard, even if tension is minimal at the very peak.
- The Eccentric (Negative): This phase is just as, if not more, crucial for muscle growth. Lower the bar slowly and deliberately in the same arc motion, maintaining a loose grip and actively resisting the weight. Think of it as a “controlled fall,” where you’re actively contracting your biceps to fight gravity. Don’t simply let the weight drop. I personally favor resetting each rep at the bottom. This allows for a quick re-brace and helps maintain upper body tightness, leading to better control and potentially more load moved over the entire set.

Common Pitfalls and Smart Fixes
The most prevalent error I observe with curls is going too heavy, which inevitably leads to excessive “cheating.” While I’m not inherently against some controlled cheating (especially for emphasizing the eccentric), unchecked momentum turns the curl into a full-body heave, diminishing tension on the biceps. A small amount of shoulder flexion (10-15 degrees) to initiate the movement is acceptable, but once your hips, knees, and ankles become heavily involved, you’re performing a different exercise entirely.
An arm blaster can be a useful tool here, helping to keep your shoulders pinned back and reinforcing proper posture. However, it should be an aid, not a crutch. Always strive to master proper form without assistance first.
Another frequent mistake is a lack of active supination. Many individuals curl with an underhand grip but fail to actively “drive” their pinky and ring fingers into the bar. This results in the forearms disproportionately contributing to the lift, reducing bicep activation.
For those looking to complement their barbell curls, the standing dumbbell curl is an excellent adjunct. Its unilateral nature helps correct asymmetries, and the ability to start with a neutral grip and supinate actively during the concentric phase offers unique benefits for bicep stimulation. To maximize this, try curling with your pinky finger centered on the dumbbell handle, which amplifies biceps activation during supination.
Ultimately, a well-rounded arm program incorporates a variety of exercises. While the barbell or EZ bar curl can serve as your core bicep builder, don’t shy away from periodically varying your routine with dumbbells, cables, and different angles to ensure comprehensive development.
This “Technique Tuesday” series is designed to arm you with the knowledge to optimize every rep. If you’re benefiting from these detailed breakdowns, consider supporting my work by exploring the comprehensive training programs available on my website. Your support allows me to continue providing this in-depth content. For the next week, my specialized Arm Hypertrophy Program is available at a 30% discount, making it just $13.99. Thank you for tuning in, for your amazing feedback, and for joining me on this journey to elevate your training. Don’t forget to like, subscribe, and I’ll see you next Tuesday!