Few exercises can rival the back squat when it comes to building lower-body strength and overall athleticism. Often called the “king of all lifts,” the squat targets some of the largest and strongest muscles in your body, making it a staple for anyone looking to improve power, size, or functional fitness.
However, despite its popularity, many lifters perform squats with less-than-ideal technique, which can limit muscle growth, decrease strength gains, and even increase the risk of injury. This guide will teach you everything you need to know about performing the back squat with proper form, from understanding muscle activation to bracing, descending, and driving out of the hole.

Muscles Worked During the Back Squat
The back squat is a compound movement that trains multiple muscle groups simultaneously:
- Glutes: Responsible for hip extension and providing explosive power as you rise.
- Quadriceps: Handle most of the knee extension during the upward phase.
- Adductors: Assist with hip stability and contribute to hip extension.
- Spinal Erectors: Contract isometrically to keep your torso upright and your lower back stable.
Interestingly, the hamstrings contribute very little to the squat despite being hip extensors. Because the knees remain bent throughout the movement, the hamstrings stay at a fairly constant length, limiting their involvement.
Contrary to what some lifters believe, the abdominals aren’t heavily activated during squats. They act primarily as stabilizers rather than primary movers.
Ideal Rep Range and Load Selection
Because the squat involves multiple joints and large muscle groups, it responds best to progressive overload—gradually increasing weight over time. For optimal results:
- Hypertrophy (muscle growth): Train in the 5–10 rep range with 70–85% of your one-rep max.
- Strength: Stick to 3–6 reps per set with heavier loads.
- High reps (>10): Usually less effective due to cardiovascular fatigue, which can compromise technique before your legs are fully challenged.
Beginners should prioritize mastering technique before piling on weight. Sacrificing form for heavier loads is a fast track to stalled progress—or worse, injury.
Squat Setup: Bar Placement, Grip, and Stance
High Bar vs. Low Bar Squat
There are two common bar positions:
- High Bar: Bar rests on the upper traps, more upright torso, slightly more quad-dominant.
- Low Bar: Bar sits on the rear delts, more forward torso lean, slightly more glute and hip-dominant.
Both variations are effective, but the high bar tends to feel more comfortable and places less strain on the lower back, making it a great choice for most lifters.
Bar Placement and Grip
- Set the bar in the rack at around armpit height to make unracking smooth.
- Keep the bar high enough that it doesn’t slide but not so high that it forces your neck forward.
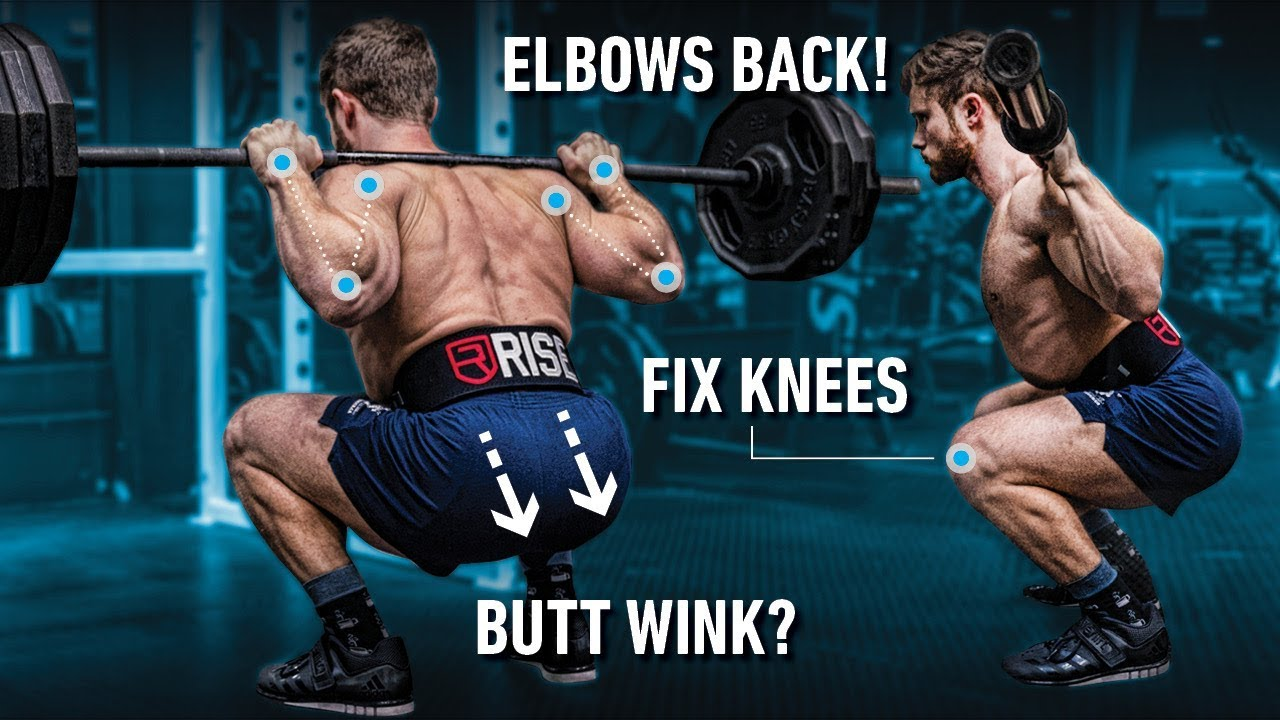
- Grip the bar as close to your shoulders as mobility allows—a tighter grip helps tighten the upper back, creating a stable base.
- Your hands are there to stabilize the bar, not press it; let the weight rest securely on your upper back.
Stance and Foot Position
- Feet should be slightly wider than shoulder width with a 15–30° outward flare.
- Adjust based on hip mobility and comfort; your knees should track naturally in line with your toes.
Step-by-Step Guide to Executing the Back Squat
1. Bracing
A solid brace is essential for spinal stability:
- Distribute your weight evenly across your heel, big toe, and pinky toe. Avoid leaning excessively onto your heels.
- Take a deep diaphragmatic breath, expanding your belly against your lifting belt (if you use one).
- Keep your elbows slightly back to prevent wrist or elbow discomfort.
- Keep your head neutral or slightly up, eyes focused straight ahead.
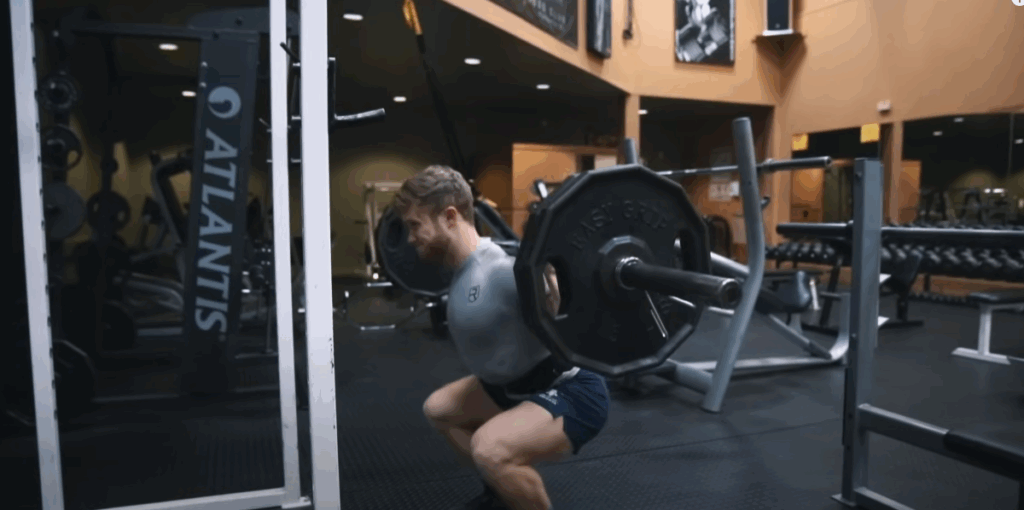
2. The Descent (Eccentric Phase)
- Break at the hips and knees simultaneously.
- Push your knees slightly out so they track over your toes.
- Maintain an upright chest by driving your upper back into the bar as you lower.
- Lower yourself under control, taking about one second to reach depth.
For general strength and hypertrophy, aim to reach at least parallel (hip crease at or below knee level). Deeper squats recruit more glute and adductor fibers but should only be done if mobility allows.
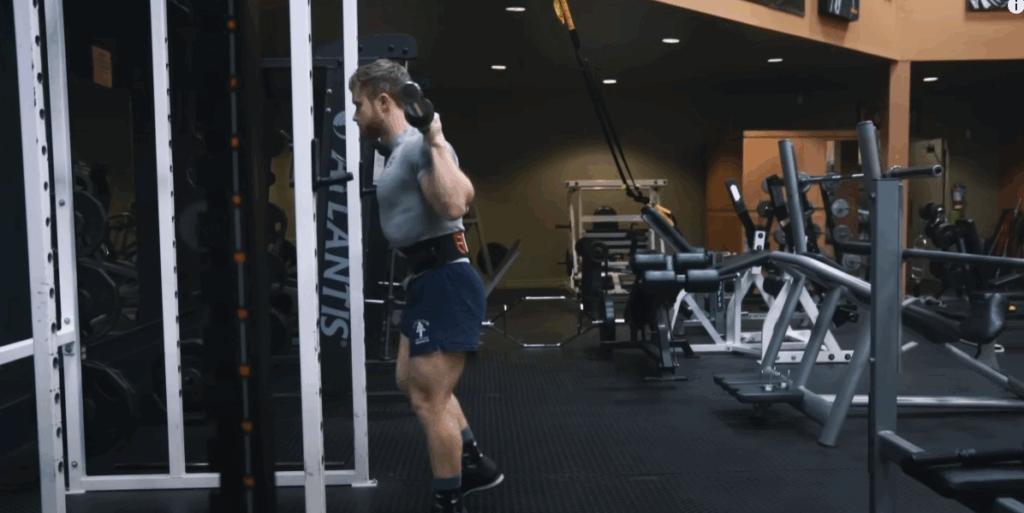
3. The Ascent (Concentric Phase)
- Use the stretch reflex at the bottom to rebound out of the hole, but keep control—don’t bounce.
- Drive upward by pushing through your mid-foot while keeping your chest lifted.
- Think about driving your back into the bar, not just extending your legs.
- Exhale as you approach the top, but keep your brace until you’re past the hardest part of the lift.
Common Squat Mistakes and How to Fix Them
1. Knees Caving In (Knee Valgus)
- Often caused by weak hip abductors or poor foot stability.
- Cue yourself to push your knees out in line with your toes.
- Mini-band work or hip abductor strengthening can help.
2. Cutting Depth Short
- Loading up too much weight often leads to shallow squats.
- Reduce the weight until you can consistently squat to at least parallel with good form.
3. Excessive “Butt Wink”
- Mild posterior pelvic tilt at the bottom is normal, but excessive rounding may stress the lower back.
- Improve hip and ankle mobility with foam rolling and dynamic stretching before squatting.
- Experiment with stance width or use heeled lifting shoes to improve depth.
4. Bouncing or Rushing the Descent
- Dropping too fast can throw you out of position and strain the lower back.
- Lower yourself under control and maintain tension.
5. Walking Out Inefficiently
- Use a three-step walkout: one small step back, one medium step with the other foot, and a final adjustment step to set your stance.
Variations and Alternatives
If traditional barbell squats are uncomfortable due to mobility or injury:
- Front Squats: More quad-dominant, upright torso, easier on the lower back.
- Hack Squats or Smith Machine Squats: Provide more stability but less carryover to real-world strength.
- Lunges or Bulgarian Split Squats: Great unilateral alternatives for balance and glute activation.
- Leg Press + Back Extensions: Can mimic some benefits if squats aren’t an option.
Final Tips for Building a Strong Squat
- Start Light, Build Gradually: Perfect technique before adding heavy loads.
- Use Progressive Overload: Increase weight, reps, or total volume slowly over time.
- Prioritize Recovery: Squats are demanding—allow adequate rest between sessions.
- Train Mobility: Strong hips and ankles make deeper, safer squats possible.
- Film Your Lifts: Reviewing footage helps identify technical issues.
Take Your Squat to the Next Level
The back squat is a long-term investment in strength, muscle, and athletic performance. When executed with precision and consistency, it will transform not just your legs, but your entire body composition and power output. Master the basics, progress intelligently, and watch your squat numbers—and your quads and glutes—grow steadily over time.