raining Setbacks, Smart Recovery, and Bench Press Tips for Long-Term Progress
When it comes to strength training, it’s easy to become obsessed with testing personal records. But as any seasoned lifter will tell you, sometimes the best gains come from knowing when to pull back. In this article, we’ll take a look at how to navigate setbacks, manage your training intelligently, and use key strategies to boost your bench press—without burning out or getting injured.
Why I Delayed My Max Testing Week
I had originally planned to use this week to test my progress with an AMRAP (as many reps as possible) session on the big three lifts—squat, bench press, and deadlift. After a 10-week program structured around progressive overload and strategic peaking, I was excited to showcase my strength improvements.
But things didn’t go as planned.
Just as I entered my deload week—a time where volume and intensity are reduced to help you recover—I got sick. Unfortunately, even the “light” loads felt unusually heavy, and my performance was worse than during peak intensity weeks. It was clear this deload wasn’t functioning properly. Rather than stubbornly push through and risk underperforming or getting hurt, I made the tough decision to delay max testing.
This wasn’t an easy choice. But long-term progress often requires restraint.

Training Recap: The 3-Phase Strength Block
Here’s a brief overview of the structure I followed:
- Block 1 (Weeks 1–3): Focused on building volume tolerance and refining technique. Loads were moderate, and effort levels stayed submaximal.
- Block 2 (Weeks 4–6): Increased intensity and introduced higher RPEs through top sets, with a slight increase in volume.
- Block 3 (Weeks 7–10): Included a deload followed by AMRAP sessions meant to test 90% of 1RM for reps.
Due to illness during the deload, I now plan to either restart from Block 1 or repeat Block 2 to rebuild momentum before jumping into testing again.
The Hidden Threat: Illness and Micro-Injuries
A good friend and fellow coach once shared a theory that many lifters plateau not because their programming is flawed, but because of minor, chronic setbacks like injuries and illness.
The logic goes like this: You train hard, make progress, then suffer a tweak or catch a cold. Your progress stalls. Just as you recover and resume building momentum, something else happens. This cycle repeats, and you never hit your potential.
If these interruptions can be minimized—even if not eliminated—you’d experience smoother, more consistent gains. That’s why taking recovery seriously, listening to your body, and adjusting your training is so crucial.
Bench Press Session: Strategies That Work
Since we skipped the AMRAP, I shifted focus to a heavy bench session alongside my training partner, Pat. Here’s how we structured the day and the key insights we used to improve pressing strength.
1. Work Sets: 3 Sets of 3 at ~85% 1RM
We started with a heavy triple, adjusting based on daily readiness rather than blindly following percentages. This auto-regulated approach helps prevent overreaching on days when your body isn’t at 100%.
Pro Tip: Don’t just calculate percentages—use RPE (Rate of Perceived Exertion) to judge how hard each set feels. Adjust the load if it feels unusually difficult or too easy.
2. Treat Warm-Ups Like Work Sets
One of the biggest mistakes lifters make is rushing through warm-ups. Every rep leading up to your heavy sets should look and feel just like your max-effort reps.
Warm-Up Cues:
- Same bar path
- Same setup routine
- Same tension in the body
This not only reinforces good habits but also primes your nervous system for the real work ahead.
3. Training Gear That Actually Helps
I’m often asked whether accessories like belts, wrist wraps, and shoes really make a difference. Here’s a breakdown:
- Heeled Shoes: Offer better heel contact with the ground, supporting solid leg drive—critical for powerlifting-style benching.
- Weightlifting Belt: Helps create intra-abdominal pressure and trunk rigidity during the Valsalva maneuver, translating to greater stability and force transfer.
- Wrist Wraps: Prevent excessive wrist extension and help align the bar directly over the wrist joint, reducing unnecessary strain and increasing pressing efficiency.
- Chalk: Especially useful with a wider grip, chalk improves friction between your hand and the bar, reducing slip and ensuring consistent bar path.
Each of these tools won’t add 30 lbs to your lift alone, but together they can significantly improve technique and consistency.
4. Optimal Elbow Position for Bench Press
One technical mistake I often see is poor elbow positioning. On one end of the spectrum, bodybuilders flare the elbows out wide, turning it into a guillotine press. On the other end, some powerlifters over-tuck and touch the bar way below the chest.
Better Option: Use a moderate tuck. Bring the bar to the lower part of your chest (around the sternum) and think about tucking slightly on the way down, then flaring as you press. This hybrid technique balances joint safety and pressing strength.
5. Consistency, Calories, and Recovery
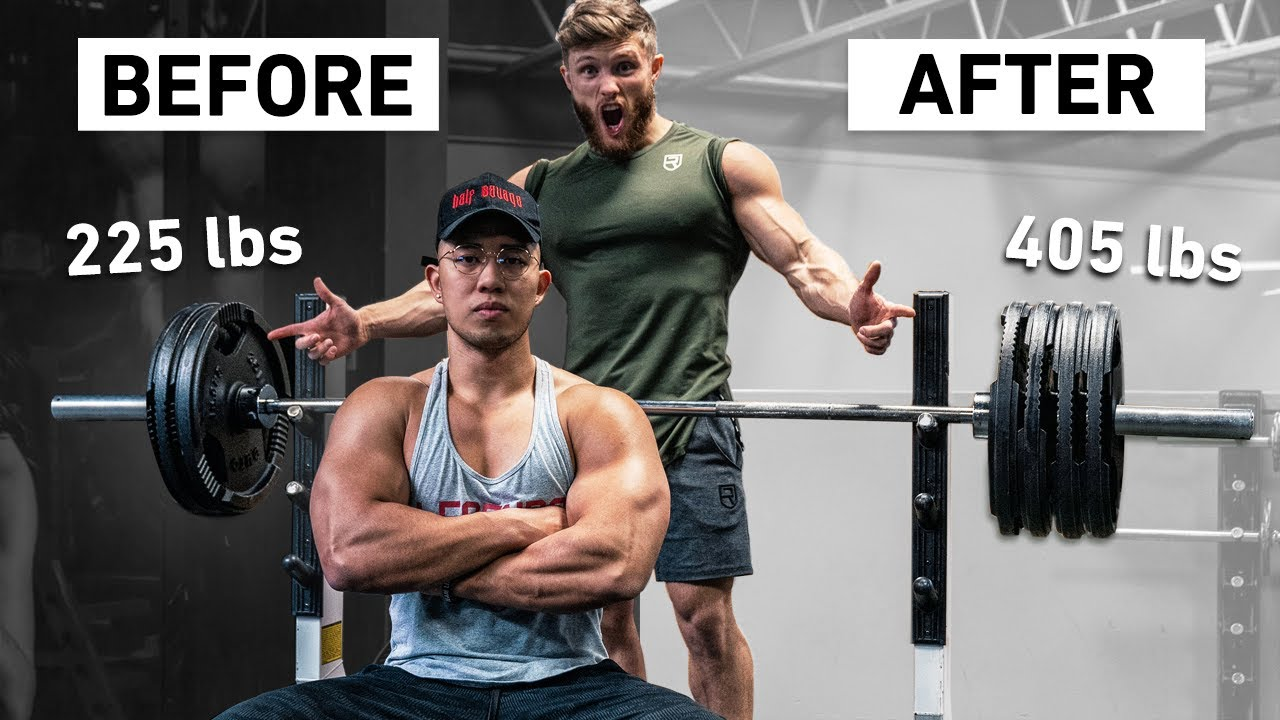
Pat’s progress this offseason has been stellar, largely due to his consistency—not just in training but also in recovery. Two major keys contributed to his 400+ lb bench:
- Strict Setup & Bar Path: Repeating the same technique every session helps you accurately track progress and reduce variability.
- Training in a Caloric Surplus: Increasing food intake, even if it adds a little body fat, dramatically boosts energy availability for heavy lifting. Bench press, in particular, benefits greatly from bodyweight and leverages.
When dieting, it’s common to see bench numbers dip. In contrast, bulking phases often coincide with pressing PRs. This is something many lifters overlook when obsessing over aesthetics.

Final Thoughts: Longevity Beats Ego
The temptation to test your limits is strong—but strength training is a long game. Pulling back when you’re ill or fatigued might feel like a setback, but it’s often the move that allows for greater leaps forward in the future.
Whether you’re a beginner or an advanced lifter, here’s the takeaway:
- Stick to structured phases
- Use RPE and readiness to guide intensity
- Take your warm-up seriously
- Use tools and techniques that maximize your individual mechanics
- Eat to support your goals
- And most importantly, don’t let your ego derail your progress
Stay tuned for more updates and training breakdowns—and remember, real strength comes from consistency and smart decisions, not just big numbers on the bar.